7 Days Machame Route Climbing Tour Overview
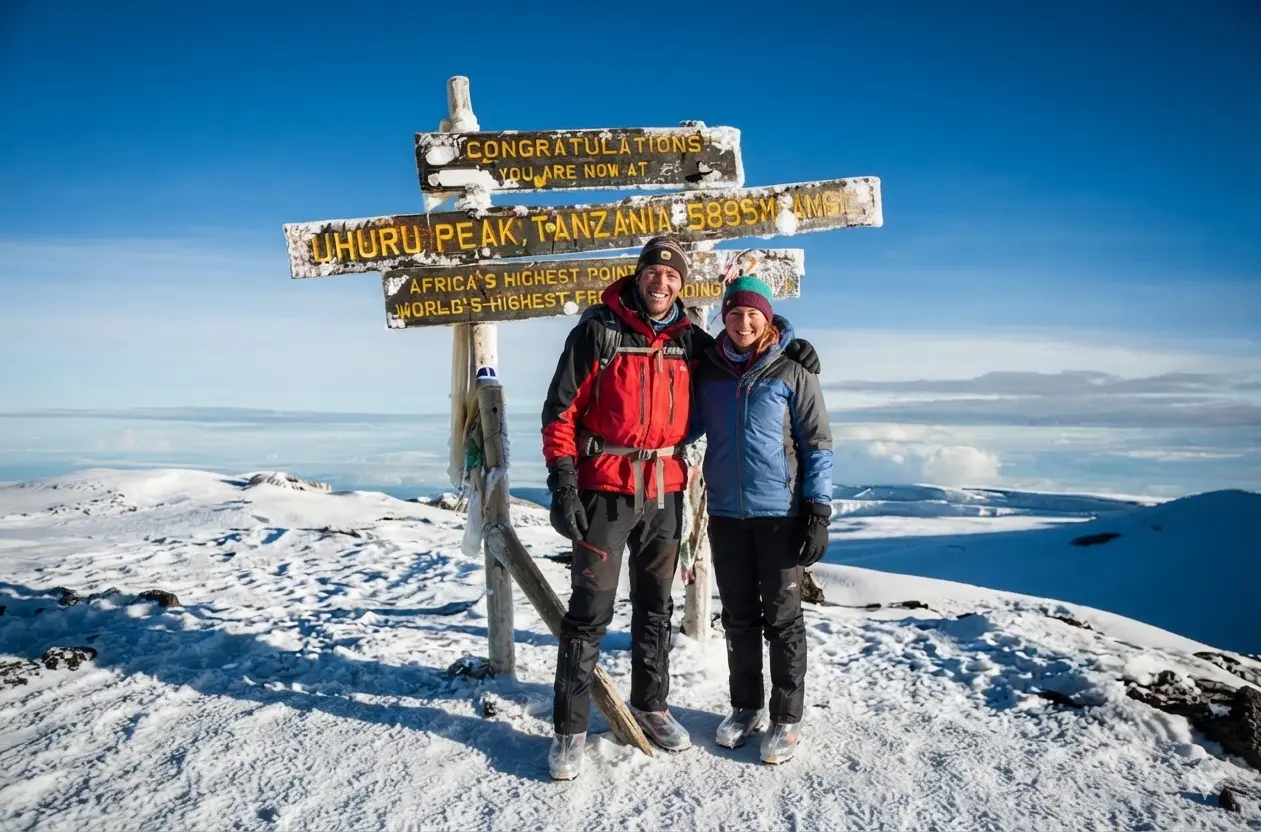
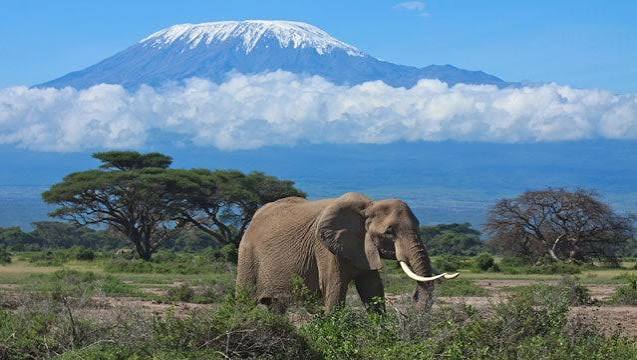
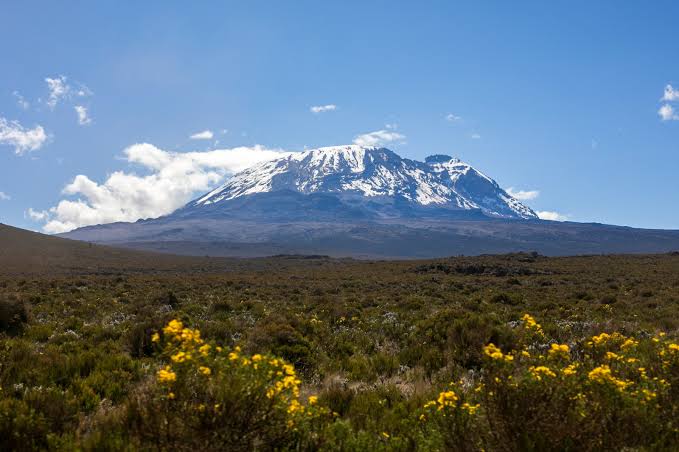
The 7 days 6 nights Machame Route, famously known as the "Whiskey Route," is the definitive choice for trekkers seeking a bold, high-energy adventure paired with some of the most iconic scenery on Mount Kilimanjaro. Your journey kicks off on the southern slopes of the mountain, where the trail pass through lush rainforest before breaking out into the rugged moorlands. Unlike other routes, Machame offers a spirited "climb high, sleep low" profile, leading you to the towering Lava Tower a volcanic sentinel before dropping you into the Barranco Valley. The important highlight of the tour is the legendary Barranco Wall, a hands-on climb that feels like a true mountaineering challenge. This 7-day itinerary is masterfully crafted to provide the critical recovery time at Karanga Camp needed for the thinning air, ensuring your body is ready for the ultimate final ascent. It is a journey that demands physical endurance and mental grit, especially as you navigate the lunar-like alpine deserts under the stars. Yet, as you reach the Uhuru peak towering at 19,341 feet (5,895 meters), you'll realize the whole challenge is worthed.
7 Days Machame Route Kilimanjaro Climbing Tour Package Detailed Itinerary
A carefully paced journey through Tanzania’s premier wilderness areas, balanced with luxury rest and deep exploration.
Day 01: Machame Gate to Machame Camp
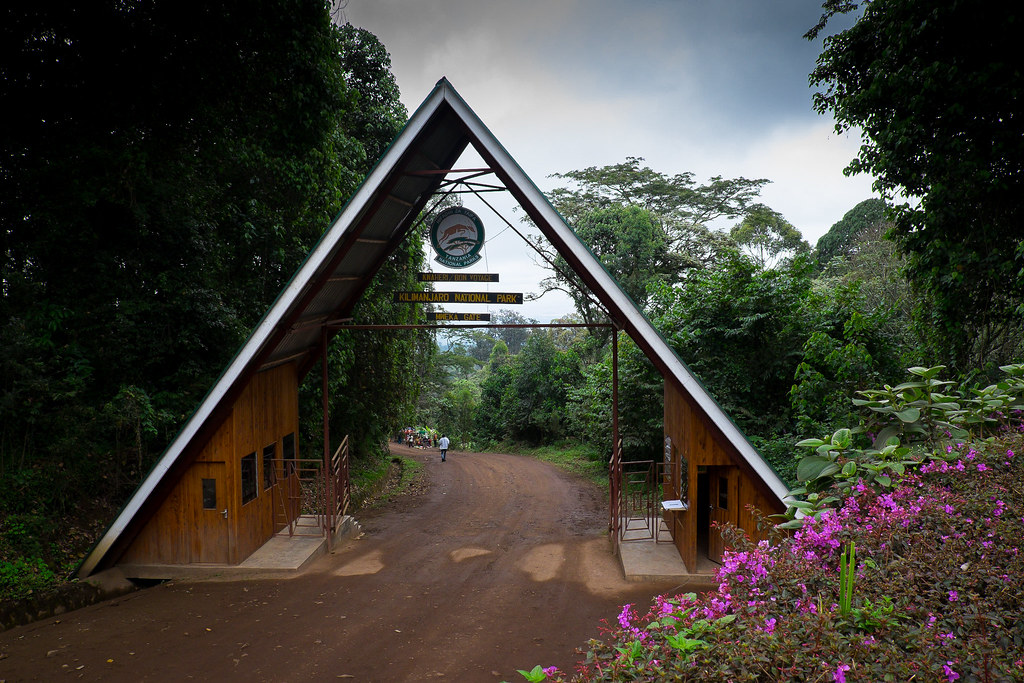
Accommodation: Tented CampingThe adventure begins with a drive to the Machame Gate for registration. Then you proceeds to the lush, montane rainforest, where towering trees are draped in moss and ferns. This zone is often misty and humid, home to exotic birds and blue monkeys. The trail climbs steadily on a well-maintained path, ending at Machame Camp, located just above the forest line.
- Elevation: 1,800m to 3,000m
- Distance: 11 km
- Time: 5-7 hours
- Zone: Rainforest
Day 02: Machame Camp to Shira 2 Camp
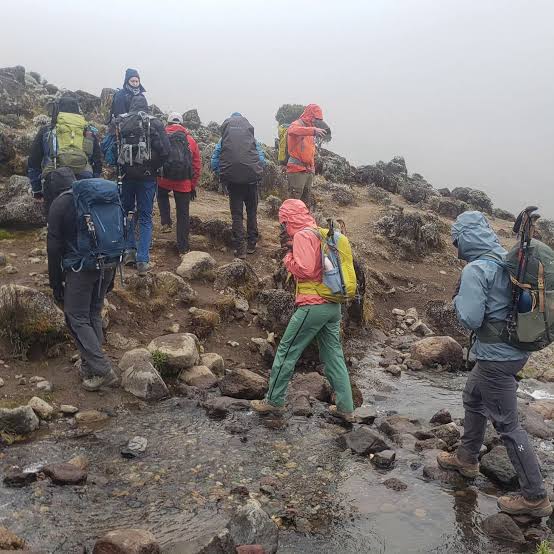
Accommodation: Tented camp at Shira 2 CampToday, you leave the forest behind as the path steepens and enters the heather and moorland zone. You will cross several streams and walk along a rocky ridge onto the Shira Plateau. The landscape opens up, offering spectacular views of the Western Breach and the glaciers of Kibo. You’ll reach Shira 2 Camp in time for a late lunch and an afternoon of rest as you adjust to the higher altitude.
- Elevation: 3000m to 3840m
- Distance: 5 km
- Time: 4-6 hours
- Zone: Moorland
Day 03: Shira 2 Camp to Barranco Camp (via Lava Tower)
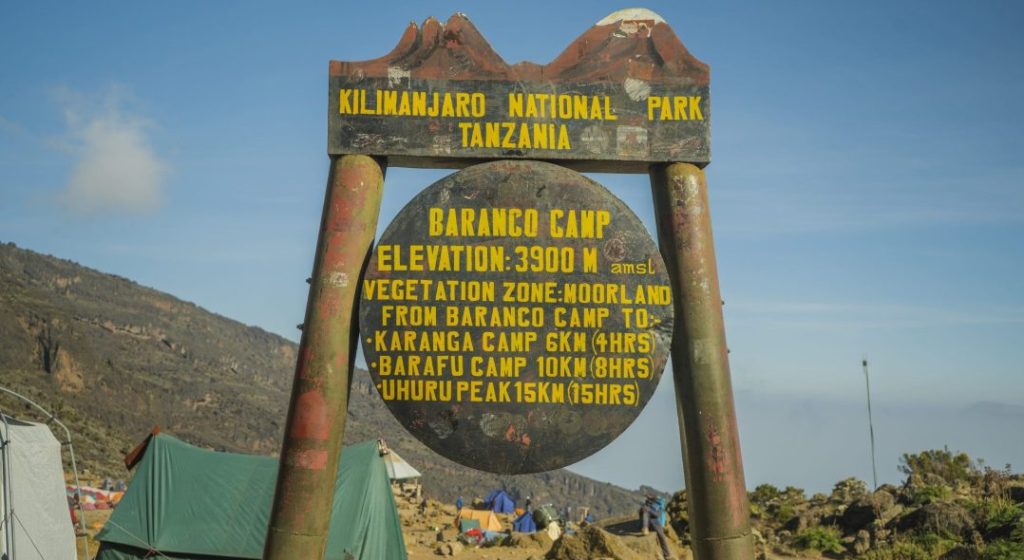
Accommodation: Tented Camp at Barranco CampThis is a vital day for acclimatization. You will head east into the semi-desert landscape, climbing toward the Lava Tower, a massive 300-foot volcanic rock formation. Reaching 4,630m is a significant "shock" to the system that triggers the production of red blood cells. After lunch at the tower, you descend into the Barranco Valley. This descent offers great photo opportunities of the "Great Barranco Wall" and the unique Giant Senecio plants.
- Elevation: 3,840m to 4,630m (Lava Tower) then down to 3,960m (Barranco)
- Distance: 10 km
- Time: 6–8 hours
- Zone: Alpine Desert
Day 04: Barranco Camp to Karanga Camp
Accommodation: Tented CampingThe day begins with the highlight of the southern circuit: the Great Barranco Wall. While it looks like a vertical cliff, it is a non-technical climb that requires using your hands for balance. At the top, you are rewarded with views of the Heim Glacier. The trail then traverses a series of valleys before reaching Karanga Camp. This "extra" day is what distinguishes the 7-day route, giving your body crucial recovery time before the final push.
- Elevation: 3,960m to 3,995m
- Distance: 5 km
- Time: 4–5 hours
- Zone: Alpine Desert
Day 05: Karanga Camp to Barafu Camp (Base Camp)
Accommodation: Tented CampingToday is a steady uphill trek through the desolate, lunar landscape of the Alpine Desert. You are heading toward Barafu Camp, the base camp for your summit attempt. The trail is rocky and exposed to the wind. Once at camp, you will have an early dinner and a briefing for the summit night. The goal is to be in your sleeping bag by 7:00 PM, as your "day" will begin just before midnight.
- Elevation: 3,995m to 4,670m
- Distance: 4 km
- Time: 4–5 hours
- Zone: Alpine Desert
Day 06: Summit Day: Barafu Camp to Uhuru Peak to Mweka Camp
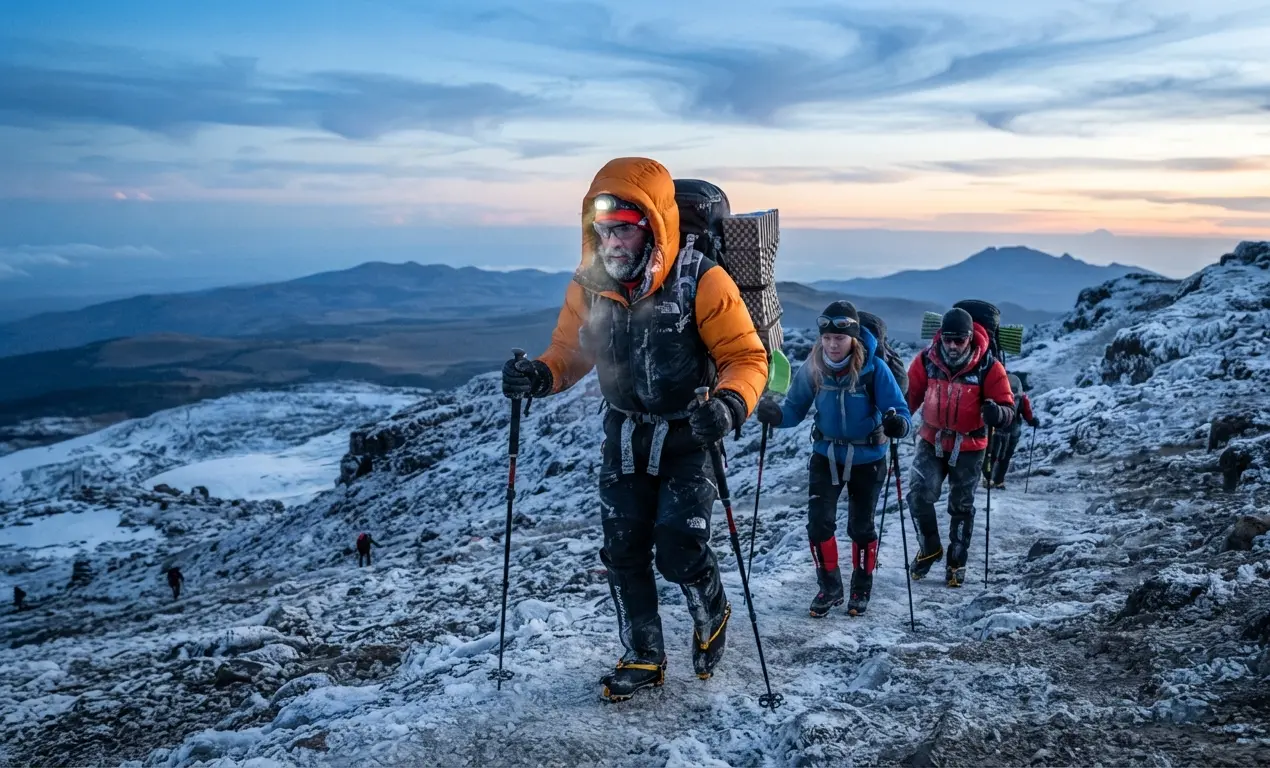
Accommodation: Tented CampingAt midnight, you begin the ultimate challenge. Guided by headlamps, you climb the steep scree slopes toward Stella Point (5,756m) on the crater rim. This is the most mentally and physically demanding part of the trek. After a short rest at Stella Point, you continue for one final hour to Uhuru Peak, the highest point in Africa. After celebrating the sunrise at the summit, you begin the long descent back to Barafu for a quick meal, then continue down to Mweka Camp for your final night on the mountain.
- Elevation: 4,670m to 5,895m (Summit) then down to 3,100m
- Distance: 15 km (5km up / 10km down)
- Time: 12–15 hours
- Zone: Arctic / Rainforest
Day 07: Mweka Camp to Mweka Gate
Accommodation: Hotel or LodgeThe final day is a celebratory descent through the lush rainforest. The path can be slippery, but the increased oxygen levels make the walk feel effortless. At the Mweka Gate, you will sign the park's official register and receive your gold summit certificate. A vehicle will meet you here to take you back to your hotel for a hot shower, a soft bed, and a well-earned celebration with your mountain crew.
- Elevation: 3,100m to 1,640m
- Distance: 10 km
- Time: 3–4 hours
- Zone: Rainforest
Price Logistics
What is Included
- Park fees Camping fees Rescue fee
- 18% vat and fees and services
- Mountain tents
- Transportation to and fro the gates
- Professional guides cooks and porters
- 3 daily meals
- Fair wages for mountain crew as approved by Kinapa and Kiato
- Pre and post accommodation
What is Excluded
- International and local flight
- Tips to Guide and climbing crew
- Personal items
- Laundry services
- Health insurance
- Portable flush toilet with tent is extra (100USD)
- Travel Insurance
- VISA
Price from